Your professional photographer will capture the big moments—the first kiss, the cake cutting, the speeches. But who captures the spontaneous laugh at table seven? The kids making faces during the first dance? Those candid, unscripted moments that make a wedding feel real?
That's where your guests come in. And with the right setup, you can collect every one of those shots without anyone having to send you a single WhatsApp message.
1. Set up your gallery before the big day
Create your Pixiot gallery a few days before your wedding. Give it a name, set the date range, and you're done. The whole thing takes under a minute.
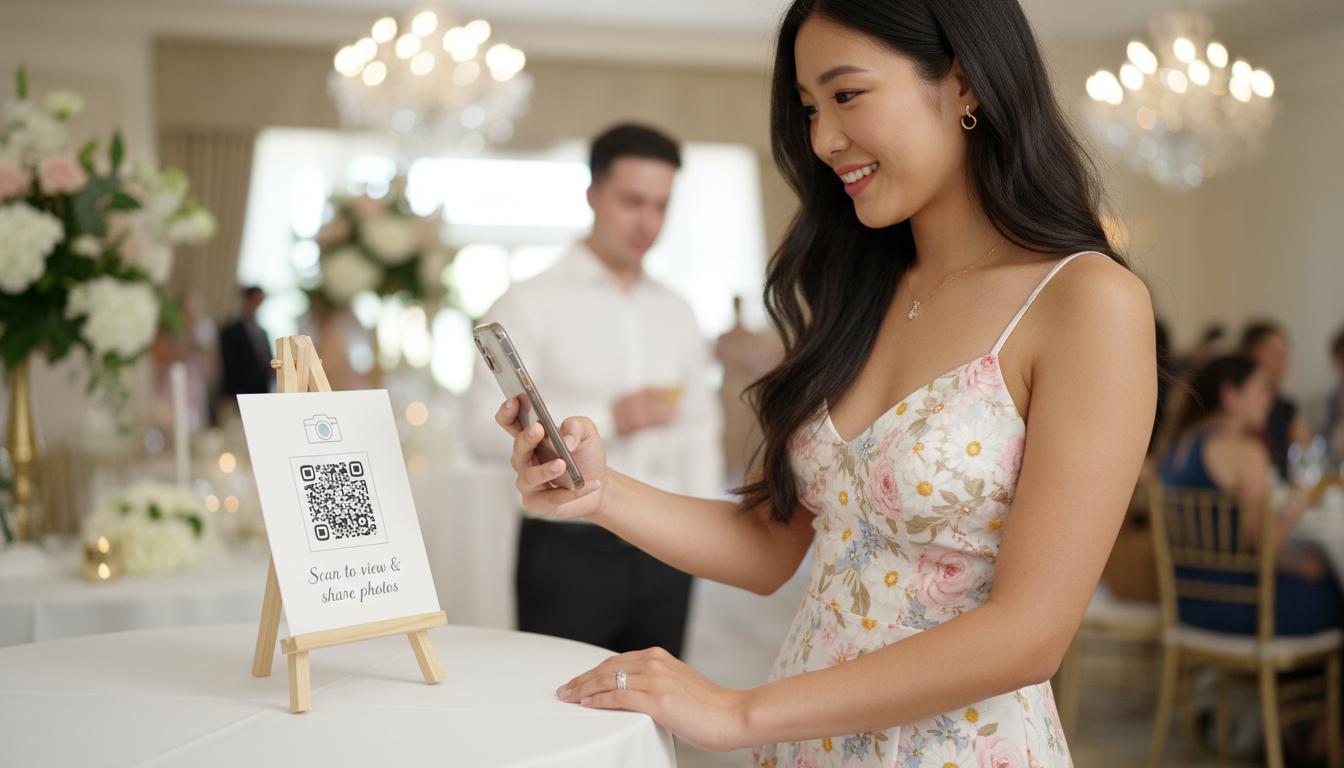
2. Print the QR code everywhere
Once your gallery is live, download your unique QR code and put it everywhere:
- On each table card or centrepiece
- At the entrance, printed on a sign
- In your digital invites or wedding website
- On the order of service
The more visible it is, the more photos you'll collect. Guests don't need to remember a URL or download an app—they just scan and shoot.
3. Mention it during the reception
Have your MC or a family member make a quick announcement: "Scan the QR code on your table to add your photos to Sarah and James's wedding gallery." That single sentence can double your upload count.
4. Watch the gallery fill in real time
During the evening, you can open the live slideshow on a TV or projector and let guests see their photos appearing in real time. It creates a magical moment—and reminds people to keep snapping.
5. Download everything the next day
Use bulk download to save every photo and video to your computer or cloud. All preserved at up to 4K—sharp, vivid memories from every single perspective.
"We had 200 guests and ended up with over 400 photos we'd never seen before. Perspectives we could never have planned for. Pixiot was the best decision we made for the wedding."
Ready to set up your wedding gallery? Start free—no card needed.
← Back to Blog